Do it yourself!
‘Hi Center Ice. This is the result of your liner. The kids are having so much fun so far. Thanks’ George Sturge, Sydney, Nova Scotia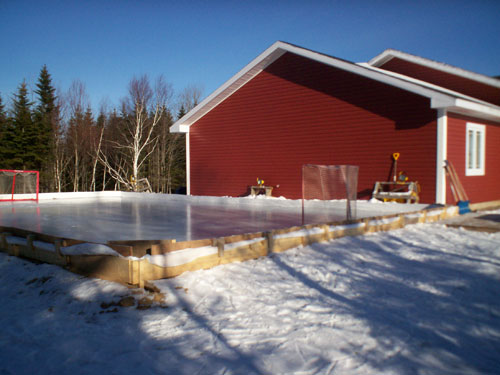

How to build a backyard rink
What you will need
There are many approaches to build an ice rink in your backyard but you must follow the basic rules. Our preferred method is the liner method. When choosing a liner, you have a choice of thickness and colours. A 5ML thickness works well and is the most cost effective. Liners come in white and clear. White is the most effective for 2 reasons:
- White insulates the cool temperature better than clear. If there are any underlying dark values in the ground, this will show through a clear liner and will attract the sun’s heat.
- White gives the desired aesthetic appearance of solid ice.
Here is a list of suggested items you may want to use to build your rink. Consider these optional items as a guideline – you may not find them all necessary but they are helpful:
- Tools: Hammer, power drill, screwdriver, tape measure, level, rake, snow shovel & broom, ice scraper/edger.
- Material: String, boards (min 2×8 lumber), stakes (metal or wood), screws, nails, marker or chalk spray, rink liner and a water source.
We’re here to help
Building a backyard ice rink can be very rewarding for anyone who is willing to invest the time to do it right. The Center Ice Team has many years of experience in installing residential rinks and ice maintenance and are happy to share some of our lessons learned with you. We are also always willing to talk you through any problems you may be having with achieving your dream rink, just give us a call!
Requirements
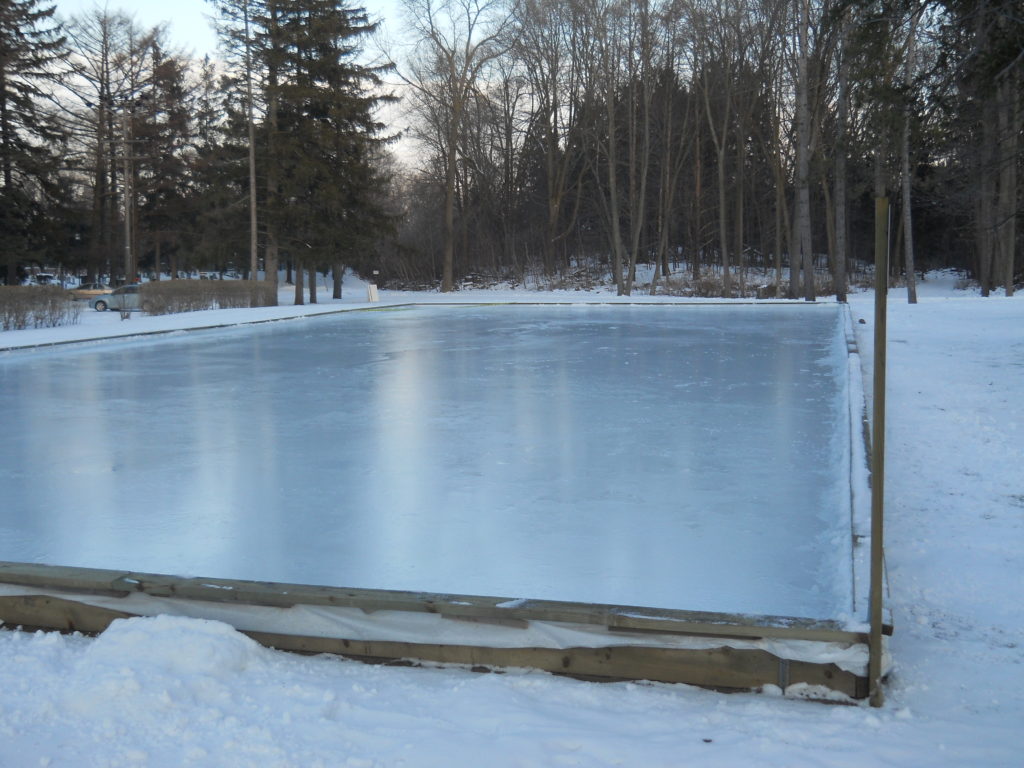
The most critical requirement for quality ice is a level surface. An un-level surface will result in little ice on the high side and deep ice on the low side, which makes for a very unpleasant skating experience. If the surface is not level, you must try to make it as level as possible. This can be achieved by filling in with dirt or building a sub-floor or a partial sub-floor.
The second component to making perfect, smooth and glossy ice is hot water. Hot water flows while cold water stands. When the water flows, the surface will freeze smoothly and reduces the amount of time and energy you will need to scrape off any bumps and hills in the ice. Cold water invites bumps and hills.
Do you have any
questions?
Contact us at the TheBuilt WP office nearest to you or submit a business inquiry onlineHow to build your backyard ice rink
- Determine site for your ice rink and prepare the surface in that area. This may include levelling the earth by raking, removing any obstacles or rocks, filling holes and crevices and removing anything that could potentially puncture or tear your rink liner. Verify the surface is level by using the string/stake method.
- Mark-off the perimeter for the ice rink with string or marker or chalk spray. Take measurements (width and length) of the dimensions of the ice rink and calculate the specific materials needed.
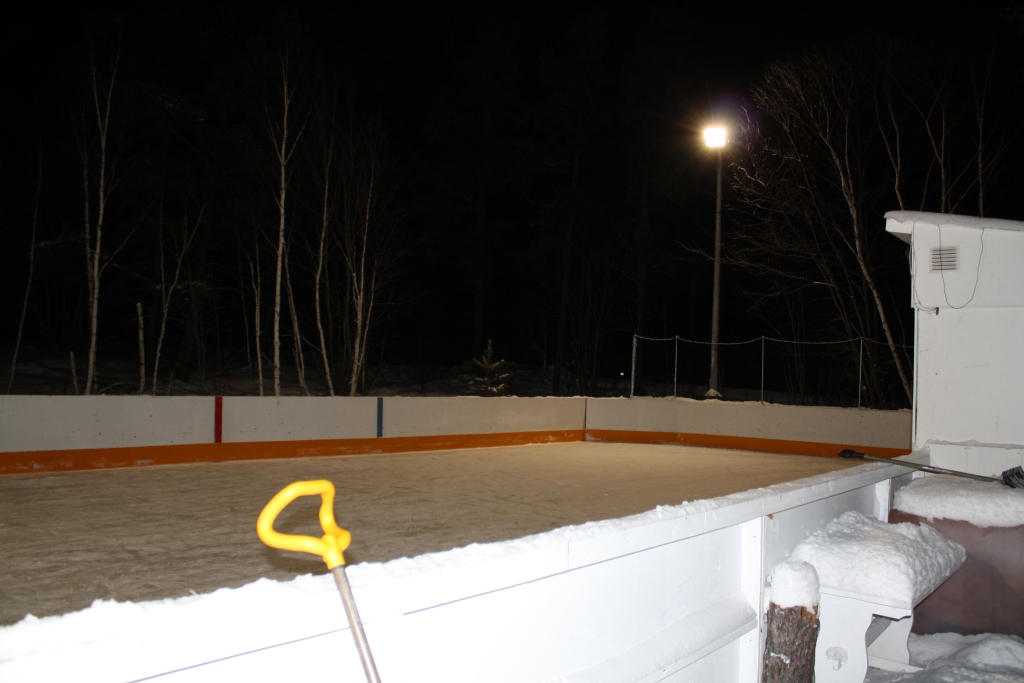
- When you have all required materials, start laying out the side boards for the perimeter of the rink. The boards should be at least 8”-10” high, to allow for levelling and water containment. Once the boards are placed, turn them up on their edge and fasten them together. Boards can be fastened by either a flat straight brace hardware or by using smaller pieces of wood fastened to the outer side of the boards with screws or nails. To secure the perimeter boards, you can use the optional outriggers or you can drive a stake in the ground every few feet around the entire perimeter to support the side boards as they are intended to hold back the water contained in the liner. Once your backyard ice rink is in place, these stakes should be levelled to the same height or lower than the side boards supporting the ice rink.
- When you are ready to start filling your rink, make sure the rink floor is clear of any sticks or objects that can puncture your liner. Lay the liner over the entire rink surface, making sure the liner is as smooth as possible and extends 3-5 feet over the perimeter of the rink boards. Fasten the liner with a staple gun, small nails or heavy duty tape.
- Fill the liner with water. Build up the level gradually over a few days. No more than 4 inches is required for great ice.
Maintaining your backyard ice rink
You will need to maintain your rink on a regular basis. This includes re-smoothing the surface to fill in any cracks or deep grooves caused by the ice skate’s blade, shovel snow off the rink’s surface, remove leaves, scrape/shave any bumps that may have formed and flood as needed.
Resufacing/Flooding
To get a smooth skating surface you will need to re-flood the rink, preferably with hot water. Re-flood during the coldest time of the day and after all ice skating is finished for that day. If the ice rink develops bumps you will need to use hot water and melt that area and re-level it with a metal trowel or similar tool. Remember to shovel your backyard ice rink’s surface promptly after skating.
DOs
-
- Use hot water where ever possible
- Clear the leaves off your rink as soon as they fall. They will melt into the ice and create holes.
- Clear the ice after any light or heavy snow fall.
DON’Ts
-
- DON’T leave the hose outside when not in use. It WILL freeze!
- DON’T walk on the rink after a light snow fall. Your foot print will freeze and you will have to skate over your boot’s tread prints.
- DON’T put coloured crease lines. Unless you have a refrigerated rink, the colour will attract the sun, which will burn your ice.
- DON’T attempt to build your rink on an unlevelled surface. You will get dead ice.